Blunder
v0.6.1
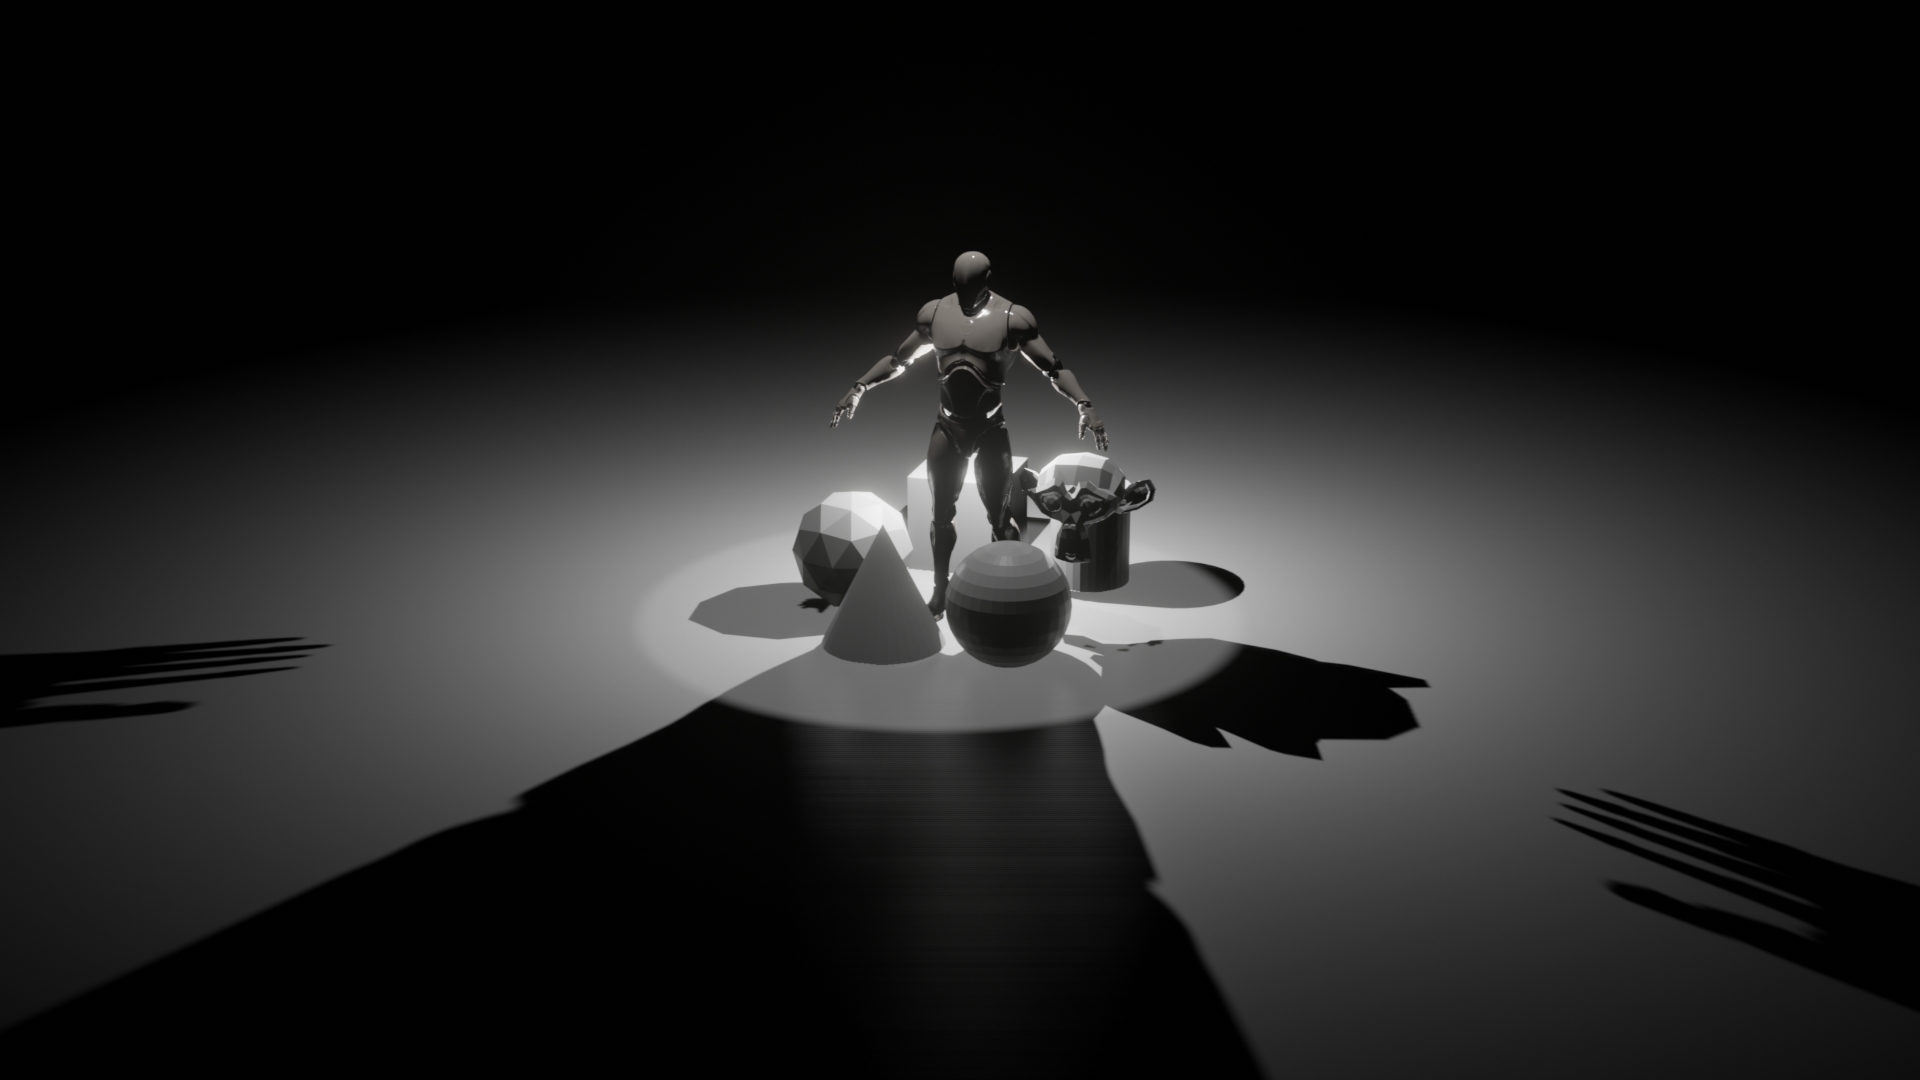
I added a few more objects to the Unreal Objects Panel, and they seemed handy enough to warrant a quick addition:
Skeleton - I have had issues getting skeletal meshes into Unreal looking and acting the way I want. Often, these would involve crazy wrists, or feet flying around, or just generally having the mesh deform in a way it wasn't supposed to. From my research and testing, it seems to be the IK, FK and Twist bones that cause issues. So, I imported the Unreal Mannequin skeleton, removed IK, FK and twist bones, copied the bone transforms and rolls, then assigned a custom mesh to represent them in Object Mode, and voila! Quick and easy rigging!
Now, if you need IK, FK, twist etc, then you'll have to look for another add-on, I believe Mr Mannequin Tools can do that, but if you just want a quick and dirty way to get a skeletal mesh into Unreal and behaving properly, then this is your jam.
Click the Skeleton button to add the armature, you can shift it in Edit Mode, you can also scale it, provided you apply the scale afterwards, get it in your mesh, then parent the mesh to the armature, export FBX with Face Smoothing, Deform Bones, and No Leaf Bones. It should import into engine without errors, and be an instant swap for the Mannequin.
It's not quite Mixamo, but it's something!
Mirror Cube and Mirror Sphere - I often start a mesh by adding a cube, or sphere, bisecting it, then adding a mirror modifier before getting down to specifics, so I've added both here as a quickstart
HardSurf Plane and HardSurf Cube - have you heard about the new hotness? It's called Hard Surface Modelling, and everybody's doing it! Now you can, too, with these handy operators that will add a mesh, bisect, mirror, solidify, subdivide, bevel, and again subdivide it for you, so you can get straight down to modelling and booling your heart away!
Added JMesh Tools to replace the Bool Tools add-on, so far I like it better.
Added Simple Asset Manager, haven't used it much so far, but it seemed worth a look.
Was watching some sculpting tutorials, and got jealous of their red MatCap material, so, now that's what MY Sculpting mode has.
Then I also changed the MatCap in Layout and Modelling modes because it looked a little jazzier than the default one. All for jazz.
Also, changed the transform on the meshes from Unreal Objects Panel when they are added so that they spawn above the "floor", rather than inside it.
Files
Get Blunder
Blunder
App Template - Unreal UX in Blender (Default Blender Keymap based)
| Status | In development |
| Category | Tool |
| Author | Spectral Vectors |
| Tags | 3D, Blender, Unreal Engine |
More posts
- v0.7 and upSep 29, 2020
- 0.6.3 - More fixesJun 07, 2020
- v0.6.2 - Add-ons Update!Jun 06, 2020
- Changelog v0.1 - v0.6.1May 19, 2020
- v0.6May 12, 2020
- v 0.5 arrives!Aug 16, 2019
- v 0.4 - the drought is over!Aug 06, 2019
- Blunder v0.3May 15, 2019
Leave a comment
Log in with itch.io to leave a comment.